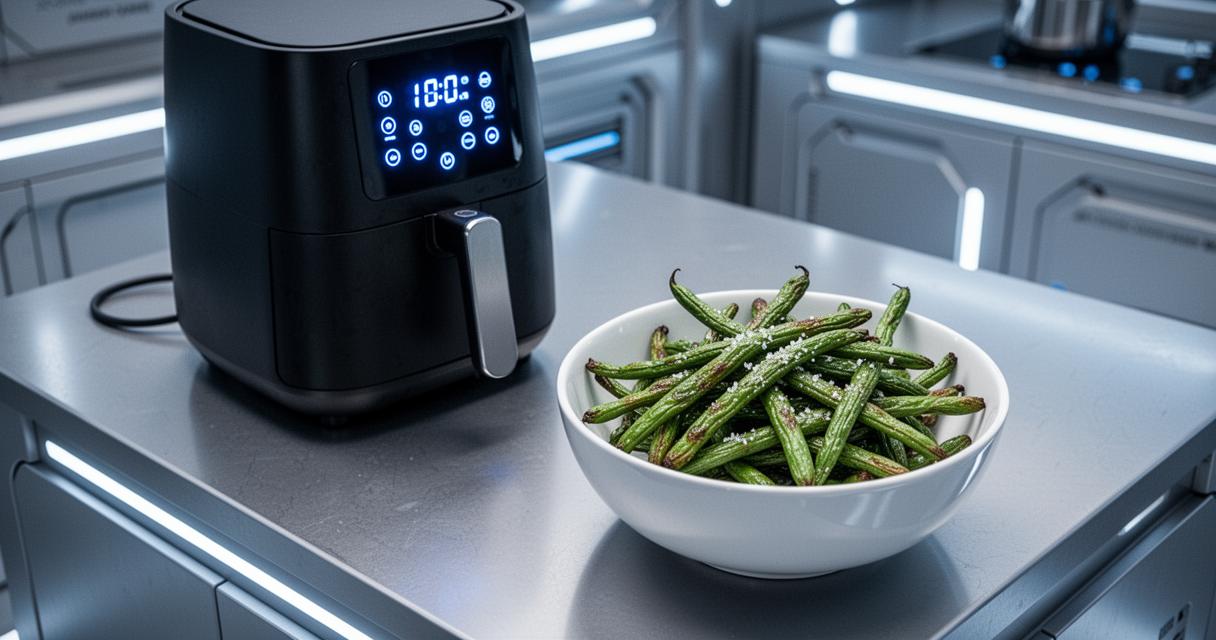
There is something rather magical about turning a humble vegetable into a snack you actually crave, and that is exactly what happens when you make crispy air fryer green beans coated in Parmesan and panko. This recipe delivers all the satisfying crunch of a deep-fried treat without the greasy aftermath, making it a firm favourite for anyone wanting a healthier alternative to French fries. Whether you serve it as a side dish, a party appetiser, or a quick snack while the kettle boils, this dish manages to feel indulgent while remaining refreshingly light.
At a glance
- Air fryer green beans coated in panko and Parmesan provide a healthier, crunchy alternative to deep-fried snacks.
- Selecting firm, fresh green beans and par-cooking them briefly ensures an even, crispy texture throughout the cooking process.
- A three-step coating station using seasoned flour, egg wash, and a panko-Parmesan mix is essential for a well-adhered, golden crust.
- To prevent sogginess, arrange the beans in a single layer in the air fryer and cook in batches rather than overcrowding the basket.
- Cooking at 375°F for three to five minutes produces optimal results, though adjustments can be made based on individual appliance performance.
- These green beans pair well with dipping sauces like ranch or sriracha mayo and are best enjoyed fresh to maintain their crunch.
- Leftovers should be stored in an airtight container and reheated in an air fryer to revive the original crispy texture.
Essential Ingredients and Preparation for Perfect Air Fryer Green Beans
Selecting fresh green beans and key ingredients
The foundation of this recipe lies in choosing beans that are firm, vibrant, and free from blemishes, as tired or limp beans simply will not crisp up properly. Fresh green beans or a mix with yellow beans work beautifully, offering a lovely contrast of colour on the plate. Beyond the beans themselves, you will need a handful of pantry staples including all-purpose flour, panko breadcrumbs, grated Parmesan cheese, garlic powder, onion powder, salt, and black pepper. Some variations call for egg whites or whole eggs mixed with a splash of milk or water, which helps the coating cling to each bean. This combination of ingredients creates a wonderfully textured crust that turns ordinary green beans into something rather special, and it is a technique loved by many a family recipe passed down through generations.
Preparing Your Green Beans with Olive Oil, Parmesan, and Panko
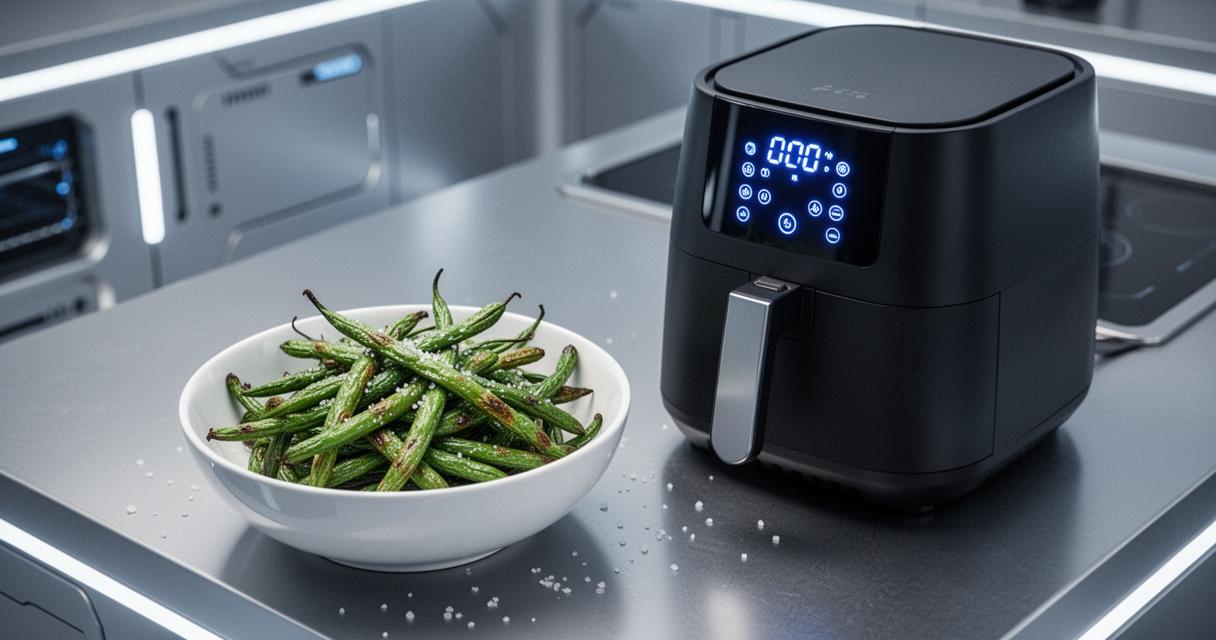
Preparation begins with trimming the woody ends off your beans before setting up a simple coating station. One bowl holds the seasoned flour, another the egg wash, and a third the breadcrumb mixture combining panko and Parmesan for that all-important crunchy texture. A light drizzle of olive oil helps the coating adhere and encourages a golden finish once cooked. Many cooks find it helpful to par-cook the beans briefly in the microwave before coating, as this softens them just enough to ensure they cook through evenly in the air fryer without turning mushy. Dredging each bean through the flour, then the egg, then the breadcrumb mixture might feel a touch fiddly at first, but the payoff in flavour and crunch is well worth the effort.
Mastering air fryer cooking techniques and timing
Step-by-step cooking method in your air fryer
Once coated, arrange the beans in a single layer inside your air fryer basket, taking care not to overcrowd them, as this is the secret to achieving that coveted crispy coating rather than a soggy one. Cooking in batches is often necessary depending on the size of your kitchen appliance, but it is a small inconvenience for the sake of even crisping. Most recipes suggest cooking at around 375°F for roughly three to five minutes, though preparation and cook time combined typically fall somewhere between twenty-five and thirty minutes when you factor in the coating process. For those without an air fryer, an oven method exists too, where beans are baked at 400°F for about twelve minutes, offering similar results with a slightly different texture.
Adjusting Cooking Times for Your Desired Level of Crispiness
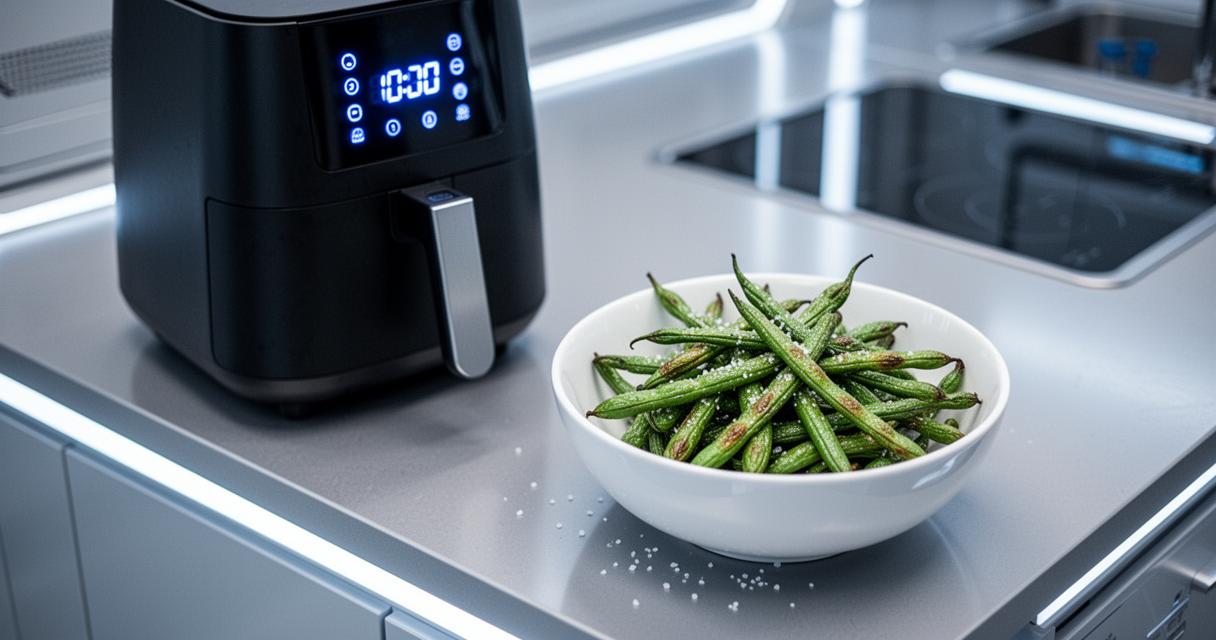
Every air fryer behaves a little differently, so it is worth keeping an eye on your beans during the final minutes of cooking. If you prefer an extra-crunchy finish, a couple of additional minutes can make all the difference, though it is best to check frequently to avoid burning the delicate panko topping. Some cooks like to shake the basket halfway through cooking to promote even browning on all sides. This flexibility in timing means you can tailor the recipe to your own taste, whether you enjoy a lightly golden coating or one that borders on deeply toasted and irresistibly crisp.
Serving Suggestions and Storage Tips for Crispy Green Beans
Flavourful Spices and Ideal Accompaniments for Serving
A final sprinkle of salt just before serving really brings the flavours together, and you might also experiment with additional seasoning options such as smoked paprika or a touch of cayenne for those who enjoy a bit of heat. These crispy green beans pair wonderfully with dipping sauces, and sriracha mayo or a classic ranch dressing tend to be crowd favourites. Served alongside grilled chicken or fish, they make a delightful side dish, while on their own with a dip they transform effortlessly into a satisfying snack for movie nights or gatherings with friends. Given their relatively low calorie count alongside a decent hit of protein, they also suit anyone keeping half an eye on nutrition without wanting to sacrifice flavour.
Proper Storage in an Airtight Container to Maintain Freshness
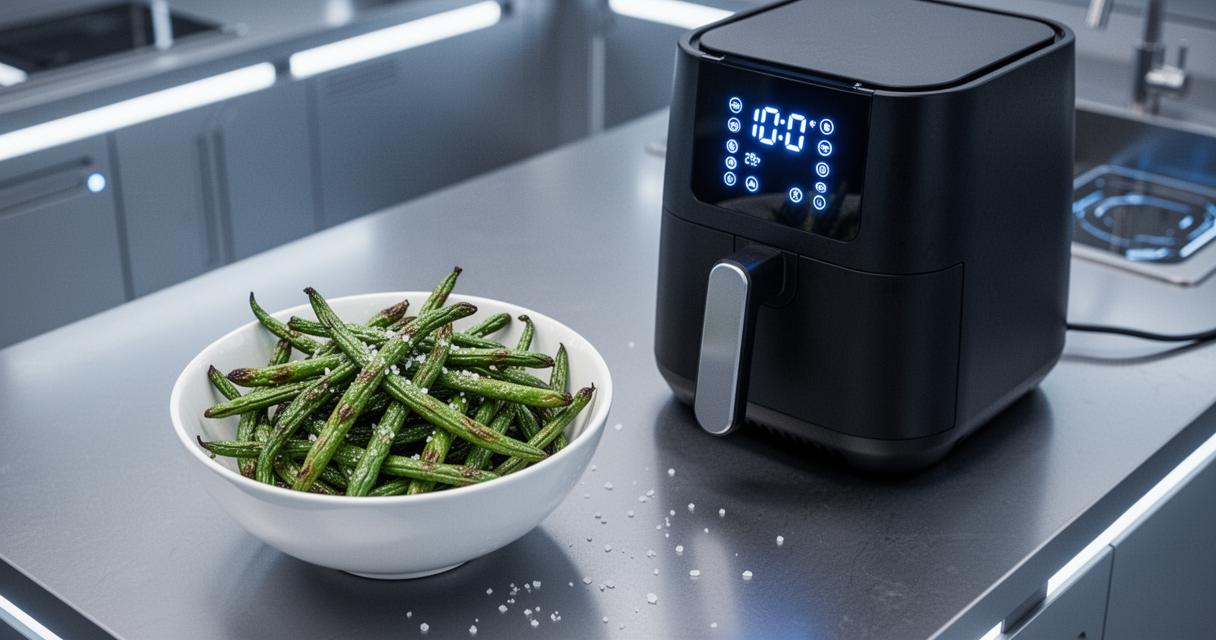
Although these beans are undeniably best enjoyed fresh from the air fryer while the coating is still audibly crunchy, leftovers can be kept in an airtight container in the fridge for up to four days. Freezing is not recommended, as it tends to ruin the delicate texture of the panko coating. When you are ready to enjoy them again, reheating in the air fryer at around 350°F for a few minutes revives much of the original crispiness far better than a microwave ever could, though a low oven set to roughly 200°F works as a gentle alternative. With a little forward planning, batch cooking this recipe means you can always have a healthy, crunchy snack ready to go whenever the craving strikes.