
There comes a moment in every rider's life when the bike simply won't start, and more often than not, the culprit is a tired battery. Swapping it out yourself is far simpler than most people assume, and with a bit of patience and the right approach, you'll have your motorbike purring again without a trip to the garage. This guide walks you through the whole process, from picking a suitable replacement to keeping it in good health for years to come.
The essentials
- Replacing a motorbike battery is a manageable DIY task that requires preparation and the correct choice of battery type based on your owner's manual.
- Use essential safety gear like insulated gloves and glasses, and work in a well-ventilated area to avoid exposure to acid or sparks.
- Always disconnect the negative terminal before the positive one to prevent short circuits during removal.
- Install the new battery by connecting the positive terminal first, then the negative, ensuring all connections are snug and free of corrosion.
- Utilize a trickle charger during periods of inactivity to prevent battery stress and maintain its charge level effectively.
- Extend your battery's lifespan by avoiding the use of accessories while the engine is off and by taking the bike on longer rides to ensure a full charge.
Preparing for your motorcycle battery replacement
Before you get your hands dirty, it pays to spend a little time getting organised. Rushing into a battery replacement without the proper groundwork is how mistakes happen, and a damaged wiring loom or a corroded terminal can turn a quick job into a costly headache.
Choosing the Right Battery Type for Your Motorbike
Not all batteries are created equal, and this is where many riders come unstuck. Conventional lead-acid batteries remain common, but many modern machines now use sealed or gel-type units designed for specific electrical systems. Brands such as Yuasa have built a solid reputation for reliability, and it's worth comparing prices and specifications across a few manufacturers rather than grabbing the cheapest option on the shelf. Always check your owner's manual for the correct size, voltage, and terminal layout, since fitting the wrong type can affect performance or even void other components. If you ride a scooter, the same logic applies, though scooter batteries are often smaller and can be trickier to source locally, so it's sensible to order in advance rather than leaving it until your motorcycle battery has already given up.
Essential tools and safety equipment you'll need
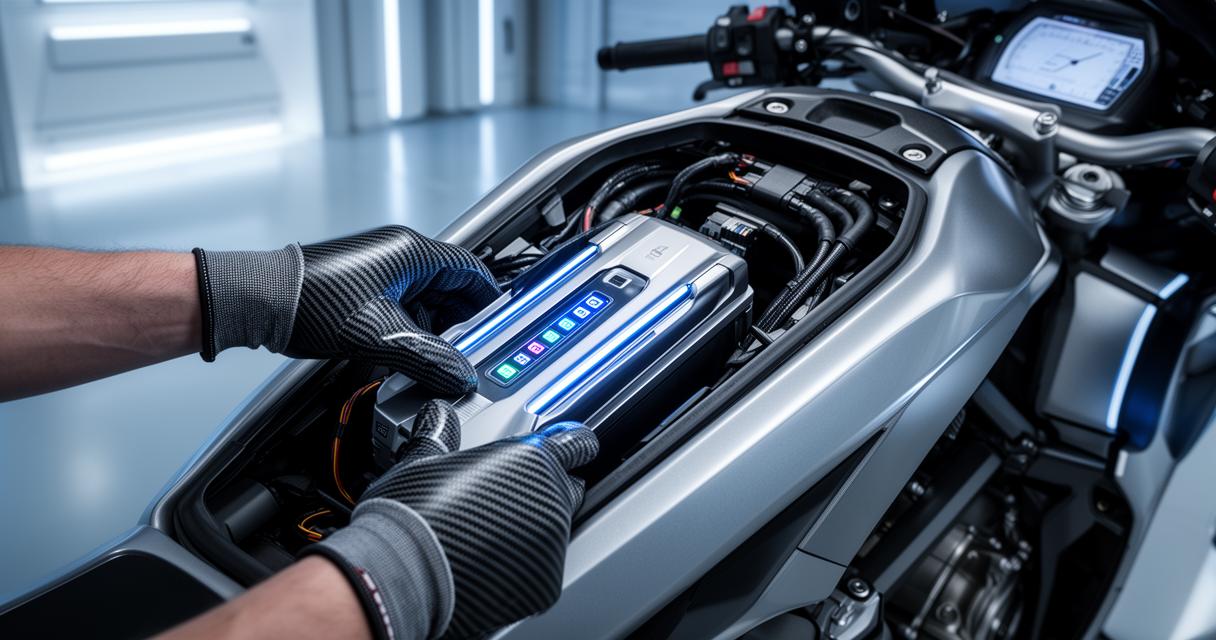
A basic socket set, an adjustable spanner, and a pair of insulated gloves will cover most jobs. Safety glasses are a sensible addition too, since battery acid and sparks are not things you want near your eyes. Lay down an old towel or mat to catch any drips, and make sure you're working in a well-ventilated space, ideally away from any open flames. If you're new to motorcycles and feel a little nervous about tackling this yourself, take heart, because with the right tools laid out beforehand, the actual process is far less daunting than it sounds.
Step-by-step guide to replacing your motorcycle battery safely
Once you've got your replacement battery and tools ready, the actual swap follows a logical sequence. Locating the battery is usually straightforward, tucked beneath the seat or behind a side panel, though some bikes hide it in less obvious spots, so a quick glance at the manual saves time.
Understanding battery terminals and proper disconnection sequence
Every battery has a positive and negative terminal, and getting the order of disconnection right matters more than people expect. Always disconnect the negative terminal first, followed by the positive one. This reduces the risk of a short circuit if a spanner accidentally touches metal bodywork while you're working. Once both cables are free, you can lift the old battery out carefully, taking note of how it was seated so the new one goes in the same way.
Installing your new battery with correct cable connections
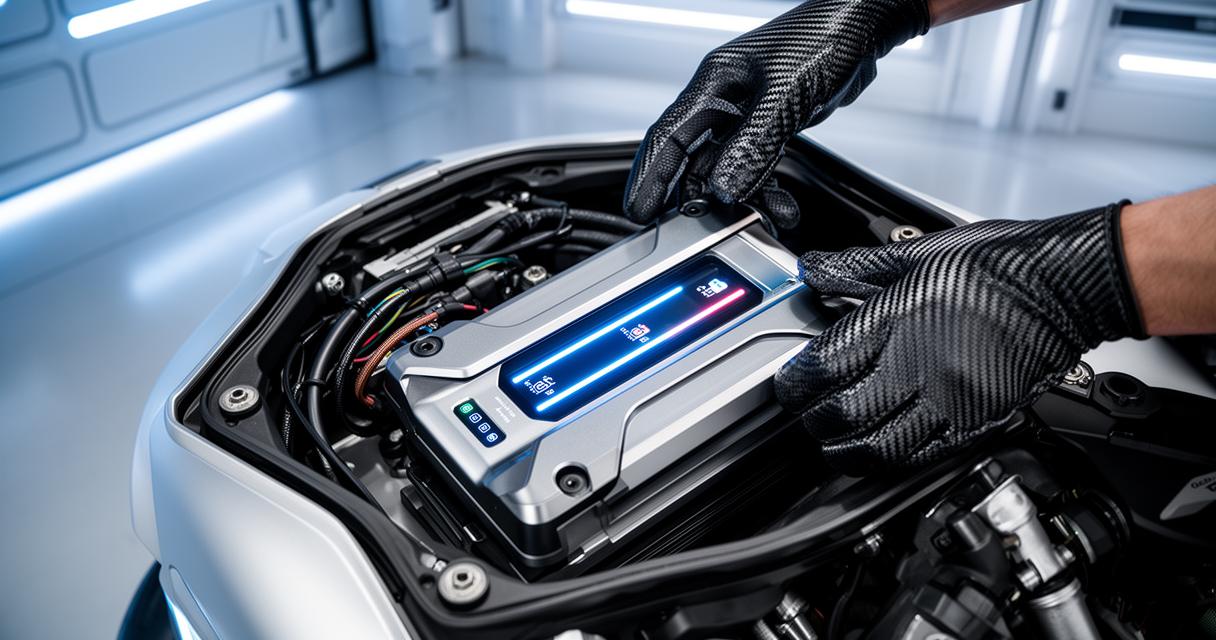
With the old unit removed, slot the new battery into place and reconnect the cables in reverse order, positive first, then negative. Double-check that each connection is snug and free from corrosion, as a loose terminal is one of the most common reasons a seemingly fresh battery fails to deliver power. Once everything is secured, turn the ignition and confirm the dash lights up and the engine turns over smoothly. That small moment when the engine fires up again is oddly satisfying, and it's proof that the job's been done properly.
Maximising battery performance and longevity
Getting a new battery fitted is only half the story. How you treat it afterwards determines whether you'll be doing this same job again in six months or in several years.
Proper Charging Techniques and Choosing the Right Charger
A trickle charger is one of the best investments a rider can make, particularly if the bike sits idle for long stretches over winter. Unlike a standard charger that can overcharge and damage cells, a trickle charger delivers a slow, steady current that keeps the battery topped up without stressing it. Careful discharge and charge management genuinely extends a battery's working life, so it's worth connecting your bike to a charger whenever it's parked up for more than a couple of weeks.
Practical tips for extending your motorcycle battery's lifespan
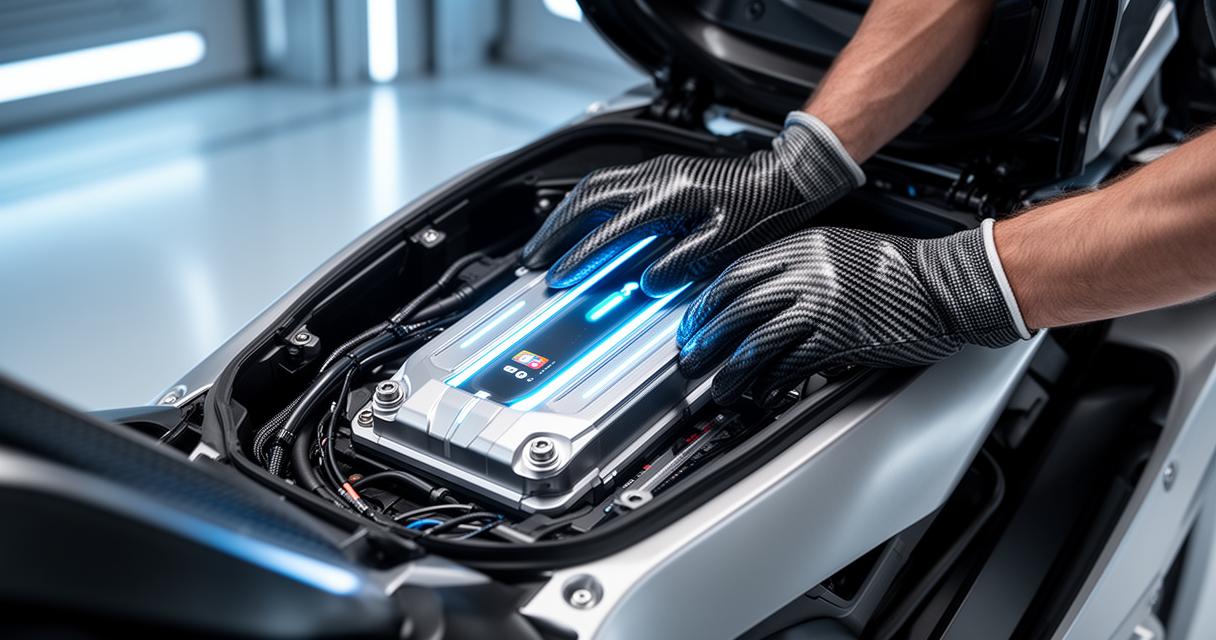
Simple habits make a real difference here. Avoid leaving accessories running when the engine is off, check terminals periodically for corrosion, and try to take your bike out for a decent run every so often rather than short stop-start journeys that never fully recharge the battery. These small steps, combined with sensible storage during colder months, will keep your battery performing reliably far longer than neglecting it ever would.
Of course, a well-maintained bike is only part of the picture when it comes to responsible riding. Having the right motorcycle insurance in place matters just as much as keeping your machine roadworthy. Lexham Insurance offers a broad range of cover, from learner motorcycle policies and young rider options through to specialist cover for classic motorcycle owners, delivery rider insurance, and even electric motorbike policies for those embracing newer technology. Riders with more than one machine can benefit from multi-bike insurance, while those with a 125cc bike or a scooter such as the Yamaha Tricity or Piaggio MP3 can find tailored specialist insurance built around their exact needs. There's also cover available for quad bikes, motorhomes, and campervans, plus useful extras like breakdown cover, helmet and leathers insurance, and personal accident cover for extra peace of mind.
For those running a business on two or three wheels, commercial options extend to motor trade insurance, delivery fleet insurance, and even cover for motorcycle training schools, catering vans, and ice cream vans. Lexham Insurance, regulated by the Financial Conduct Authority, prides itself on competitive premiums and genuinely helpful consultants who can talk you through the details. Whether you're after a straightforward insurance quote or need guidance on excess protection, their team is easy to reach by phone, and the website includes translation and accessibility options for those who need them. Getting your battery sorted is a great start, but pairing that reliability with solid, specialist insurance is what really keeps you riding worry-free.