
When your favourite programme suddenly turns into a blocky mess or vanishes altogether, the culprit is often hiding in plain sight: your aerial setup. Learning how to test a TV antenna signal properly can save you a wasted call-out fee and help you pinpoint exactly what's gone wrong before you start swapping parts or ringing an engineer.
At a glance
- Poor television picture quality is often caused by misaligned aerials, external obstructions, or aging components rather than a faulty receiver.
- Using a dedicated digital signal metre is the most accurate method to distinguish between raw signal strength and actual signal quality.
- Modern televisions and set-top boxes include built-in diagnostic menus that can help identify signal issues without needing external equipment.
- Precise physical alignment of the antenna toward the local transmission tower is crucial, as even minor shifts can significantly impact signal reception.
- Environmental factors like new buildings, dense foliage, or changing weather conditions can create signal blockages that require re-evaluating the antenna's position.
- Increasing the height of the antenna or moving it away from metal fixtures can often resolve reception issues without the need for new hardware.
- If repositioning is insufficient, signal amplifiers can be used to boost reception, though quality cabling is essential to prevent amplifying existing interference.
Assessing your tv antenna signal strength and reception quality
Before you touch a single cable, it helps to understand what you're actually dealing with. TV signal troubleshooting starts with a proper diagnosis, because glitches, pixelation, and complete signal loss can all stem from very different causes. Sometimes it's a genuinely faulty component, other times it's external disturbance, and quite often it comes down to an incorrect aerial setup that was never quite right in the first place.
Using a Digital Signal Metre for Accurate Measurements
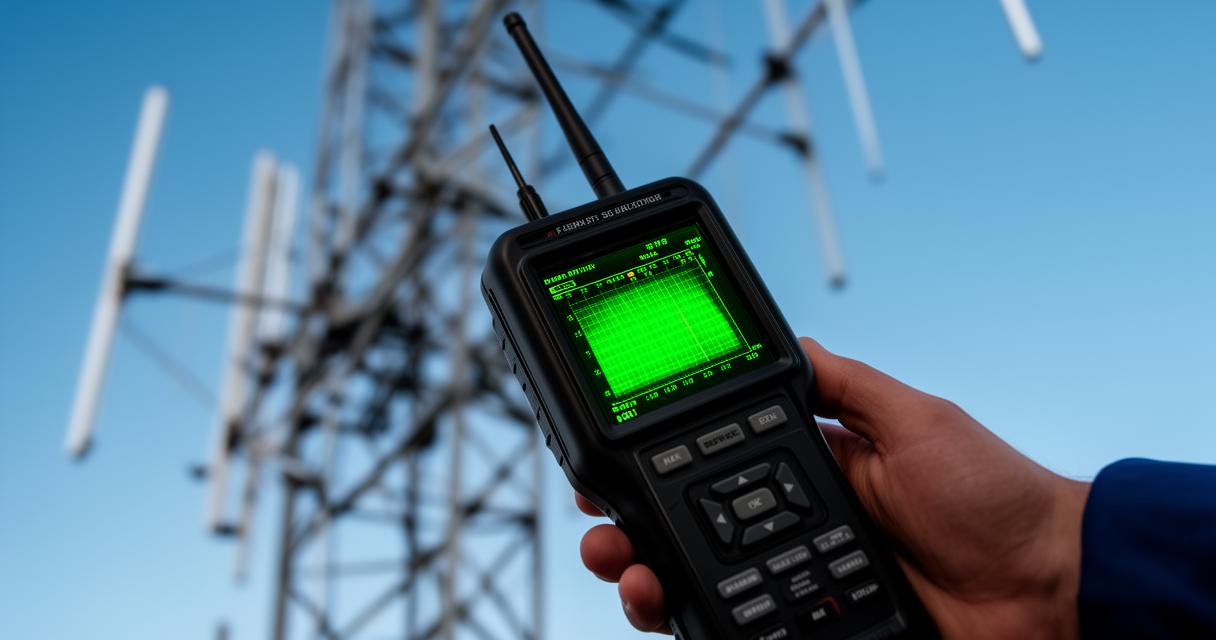
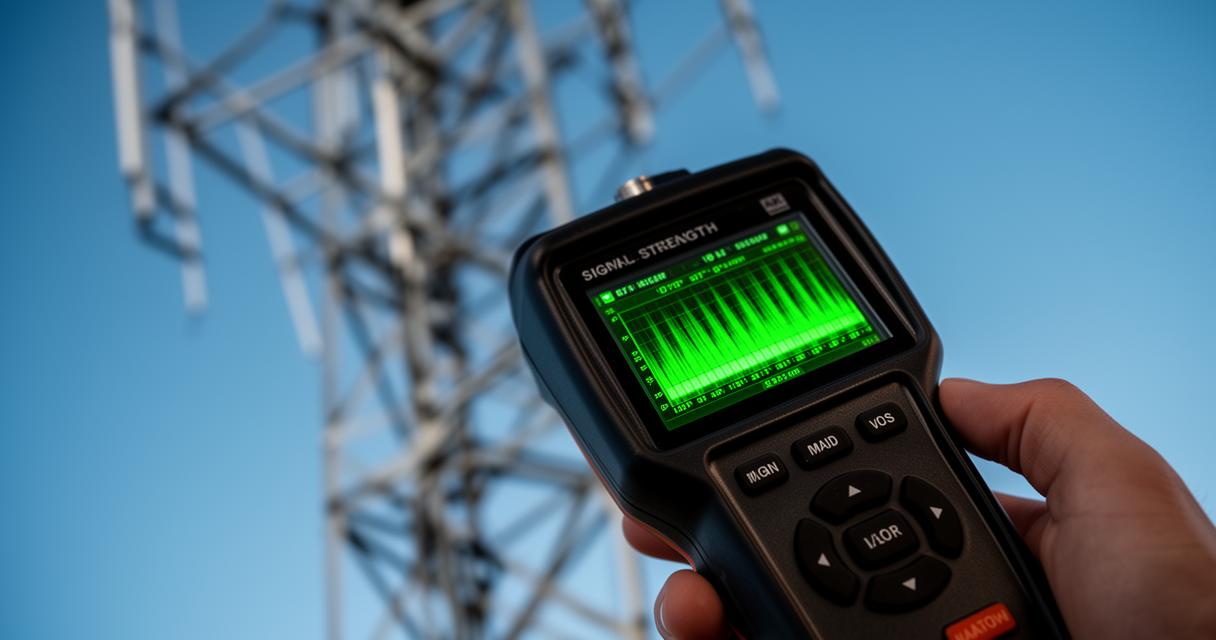
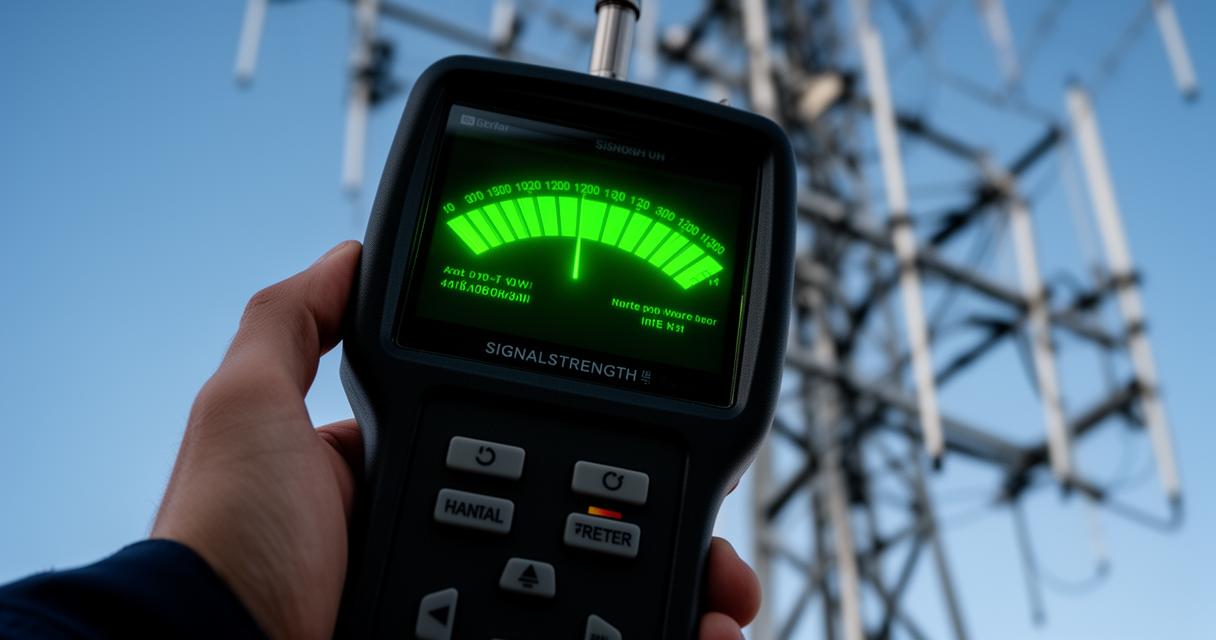
A dedicated signal metre remains the most reliable way to check what's actually coming through your cable. These handy little devices give you a proper readout of both strength and quality, which are two different things entirely. You might have plenty of raw signal but poor quality due to interference, or the reverse. Investing in one, or borrowing one from a knowledgeable neighbour, takes the guesswork out of diagnostics and shows you precisely where the weak point lies in your system.
Evaluating signal quality through your television set
If you haven't got a metre handy, your telly itself can double as a diagnostic tool. Most modern sets have a signal strength and quality display buried in the settings menu, usually under the tuning or installation section. It's also worth doing some set-top box testing alongside this, as swapping in another box or trying a different television altogether can quickly reveal whether the fault lies with your receiver or further back down the line at the aerial itself. This kind of process of elimination is invaluable when nothing seems obviously wrong.
Optimising Antenna Positioning and Alignment for Better Performance
Once you've established that reception genuinely is poor, attention turns to the physical setup outside. Poor signal reception is very often a positioning problem rather than a hardware fault, and a few simple adjustments can make a world of difference without spending a penny.
Directing your aerial towards the transmission tower
Every aerial needs to be pointed with reasonable precision towards its local transmitter, and even a small misalignment can cause noticeable problems. This is particularly true for directional models such as Yagi types, which are far more sensitive to angle than simpler indoor units. If nobody has checked the alignment since installation, or if strong winds have shifted the mount over time, this is often the first thing worth investigating when troubleshooting aerial issues.
Identifying and removing physical obstructions
Terrain and surroundings play a bigger role than many people realise. Terrain obstacles such as hills, cliffs, and dense tree cover can all weaken the signal reaching your home, and there's not always an obvious fix beyond repositioning the aerial to get a clearer line of sight. Buildings, scaffolding, and even seasonal foliage growth can introduce new obstructions that weren't there when the system was first installed, so it's worth reassessing the surroundings periodically rather than assuming nothing has changed.
Enhancing weak signals with practical solutions
Sometimes positioning alone isn't enough, and a bit of extra help is needed to get a clean, stable picture. Fortunately there are several practical routes available depending on the severity of the problem.
Adjusting antenna placement for maximum reception
Height and clearance both matter enormously. Raising the aerial even slightly, or moving it away from nearby walls and metal fixtures, can noticeably improve reception in many cases. It's also worth remembering that external disturbances such as nearby electrical equipment or even certain weather conditions can degrade the signal temporarily. One rare but genuine phenomenon worth knowing about is what's sometimes called radio weather, an unusual atmospheric condition that can distort signal quality for short periods without any fault in your equipment whatsoever.
Common fixes for a struggling system generally fall into a few categories:
- Replacing components that have degraded with age or weather exposure
- Correcting any external sources of interference near the cable run
- Resizing or upgrading the aerial system to suit local transmitter strength
- Repositioning to overcome terrain obstacles blocking the signal path
Installing a Signal Amplifier to Boost Weak Signals
When repositioning simply isn't enough, amplification is usually the next sensible step. Mast amplifiers, fitted directly at the aerial itself, tend to give the cleanest boost because they strengthen the signal before it travels down through the cabling. Indoor amplifiers offer a more convenient alternative for those who'd rather not get up on the roof, though they can sometimes amplify existing interference alongside the wanted signal. Either way, the quality of your connection cables matters just as much as the amplifier itself, since cable compatibility issues or old, poorly shielded cabling can undo all the benefit an amplifier provides.
It's worth giving proper thought to overall aerial system optimisation rather than just bolting on a single fix, since a mismatched amplifier or the wrong cable type can sometimes create new problems rather than solving old ones. If you do end up purchasing new equipment, whether that's an amplifier, a replacement aerial, or fresh cabling, it's worth remembering your consumer rights as a buyer. Under UK regulations, you're entitled to a 14-day withdrawal period from the moment you receive goods bought online or at a distance, giving you time to test everything properly and return it if it simply isn't up to the job.
Getting to grips with your reception troubles doesn't need to be a mystery. With a methodical approach to signal quality checks, some patience with alignment, and the right amplification where needed, most households can resolve their aerial woes without ever needing to call out a professional.